1. Download Ubuntu and Virtual Box.
I used Ubuntu because it’s the most familiar linux distribution and Virtual Box because it’s free.
Ubuntu – http://www.ubuntu.com/download/desktop
VirtualBox – https://www.virtualbox.org/wiki/Downloads
I downloaded Ubuntu 13.04 though the LTS version should be fine too.
2. Install VirtualBox
I went with all the defaults.
It should look like this once installed.

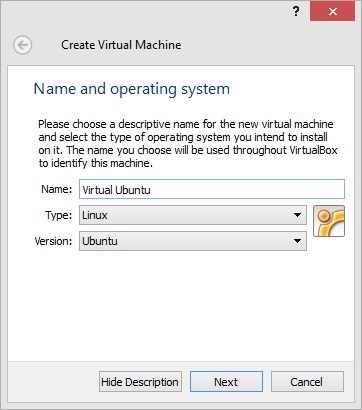
3. Click new and create a virtual machine.
Change the type to Linux, and choose Ubuntu. Name it whatever you’d like.
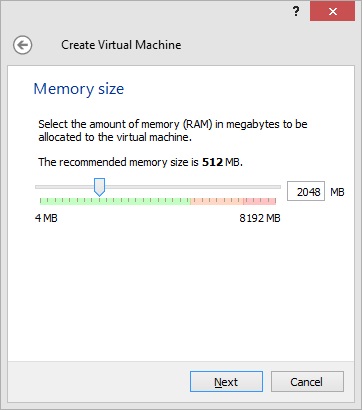
4. Choose Memory size. Default is 512mb. But I used 2048mb. My laptop has 8gb of ram so I figured I could spare some extra. (I’m not sure if it helps at all!)
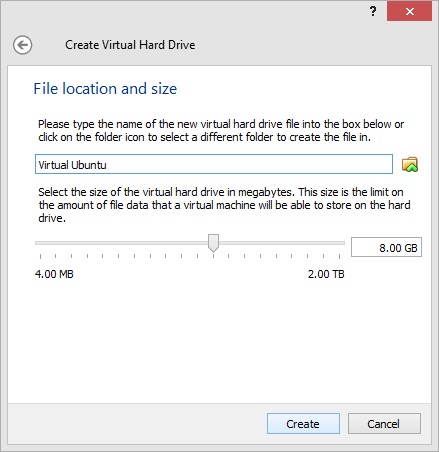
5. Create a virtual hard drive now
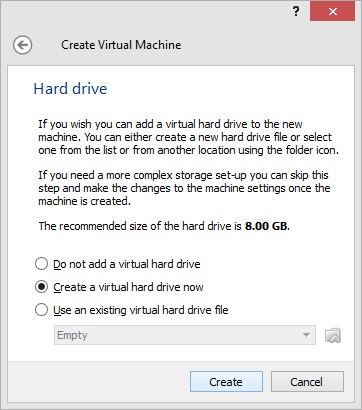
6. Click next (I did default for most settings)

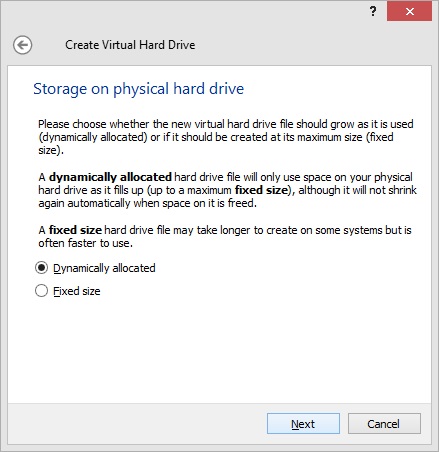
7. Next
8. Create
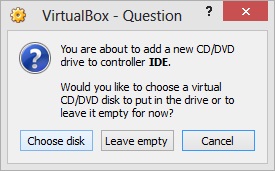
We are now done creating the virtual partition. Now to setup a CD/DVD rom on our machine
9. Right click on your new vm and click settings

10. Click on Storage and then click on + that is add CD/DVD device.

11. Choose disk
12. Find where your Ubuntu download was saved and choose it

It should now look like this

13. Click on System and make sure the boot order has CD/DVD-Rom then Hard drive. I deselected Floppy, but it shouldn’t matter.

14. Click on your VM then start it. After it loads, install Ubuntu as you would on a normal system.

After installing, reset your vm and you’re done. Happy Virtual Ubuntu using!
Just click start whenever you want to use your new vm.